Marlin Firmware Extruder Settings
Set MAGNETIC_PARKING_EXTRUDER settings. Default thermistor settings within Marlin firmware.

3d Printer Marlin Firmware Basic Configuration Setup Guide Printer 3d Printer Firmware
The extruder should continue to work to the end of the print.

Marlin firmware extruder settings. M502 resets steps-per-unit for all axes to the values from DEFAULT_AXIS_STEPS_PER_UNIT. This setting for all axes is saved with M500 and loaded with M501. The firmware is the link between software and hardware it interprets commands from the G code file and controls the motion accordingly.
It replies M200 D169. The firmware is designed to extruder 1 factor in total meaning that 04 factor and 06 factor respectively on E0 and E1 means that 40 of the material is supposed to be extruded from E0 and 60 of the material is supposed to be extruded on E1. With no parameters report the current settings.
The core and default settings of Marlin live in the. The extruder randomly stops during prints. Now you need to enter this new value into the 3D Printers firmware for the Extruder Calibration.
As is logical you need a graphic LCD screen generate the logo and prepare the. If you update your firmware your EEPROM will overwrite any changes your firmware might have tried to make. Omit all parameters to get a report of the current stats.
Power down and reboot. In the pronterface command terminal enter M92 EXXXXX where X is your new stepsmm value. My next test will be to run it with MIN STEPPER PULSE at 0 and STEALTHCHOP disabled for the extruder.
The posted configration files are based on stock hotend and extruder with bltouch. However if configured with the incorrect thermistor type the. The extruder randomly stops during the print.
Get the current steps-per-unit settings using M92 with no parameters or M503 on older versions of Marlin. Now enter M500 to save the new extruder steps setting to the 3D Printers EEPROM. Launch a print from sd card.
Without a doubt the reported temperatures on the 3D printer are from the thermistors inserted into the mainboard. Currently everything is still working but the extruder motor is operating loud clunky and hot. When filament runout detection is disabled Marlin will take no action.
Firmware is a program which resides on the printers motherboard. See releases for a compiled version. In the current version of Marlin the line you are looking for is in the Configurationh file.
Is there something in the P2 that is likely still over-riding the Marlin extruder settings. I will confidently say that with the current firmware the extruder cannot operate with STEALTHCHOP enabled. Get or set filament runout status and distance.
While 3D printers can perform XYZ movements with incredible accuracy and repeatability extrusion continues to be one of the most challenging aspects of 3D printing due to its inherent slop. Ender 3 Max Configs for Marlin bugfix-20x branch. Enable or disable filament runout detection with S and set distance with D.
It knows the properties of the 3D printer like the dimensions or heating settings. Steps-per-mm settings for each axis are included in the EEPROM. To set your new E-steps-per-mm you need to edit your firmware and EEPROM.
Define EXTRUDERS 1 Thermistors. Continued testing current settings. EEPROM restored says M200 D169 correct.
The most important setting is Marlin is the motherboard. When filament sensors are enabled Marlin will respond to a filament runout by running the configured G-code usually M600 Filament Change. Override with M92.
Even if the extruder is turned on with RepetierOctoPrintSmart Display. Currently the ideal scenario is for the fan to automatically turn on when the hot end is above a certain temperature eg 50 degrees and stays on until the temperature drops below this threshold. EEPROM are special settings that can be changed without re-uploading new firmware to your printer.
The extruder randomly stops to work during the print. How to calculate motor steps and update your firmware settings. The firmware configuration is unique to your printer.
What to Change in the Firmware. Ima little confused as to why we should use mixing extruder feature in a ram print head with auger. For geared extruders the calculation is steps per revolution times the gear ratio divided by the pinch wheel diameter times pi.
- but changing the settings in the extruder to 85100 or 100116 makes absolutely ZERO difference. This Marlin firmware will be useful to those who wish to configure their own 3d printer firmware and want information that expands on the comments already made in the Marlin firmware. Because of this the amount of extruders needs defining within the Marlin firmware.
Molten filament extrusion is an inexact science at best. M500 to save the settings. After applying a new firmware its best to run M502 and M500 to load and save the default settings.
PID Tuning Extruders Section that controls the settings of the algorithm that manages the temperature of the extruders and the heated bed. Everything else I do in Marlin seems to take - Z height settings PID settings etc. Since the release of Marlin firmware version 110 it is relatively easy to add custom logos to the Marlin firmware.
The current settings. The notes are a brief guide on what the settings are and how to use them leaving it up to the person who is configuring the 3d printer to decide what the final. M200 D169 to set volumetric_enabled the filament_size for the active_extruder and update all volumetric_multiplier values.
The firmware needs to know what board it will be running on so it can assign the right functions to all pins and take advantage of the full capabilities of the board. Lastly check your new settings are saved using the M501 command. M503 to see the current state.
Micro-stepping settings and extruder style. Heres the procedure I used to test.

Configuring Endstops On Ramps 1 4 With Marlin Firmware Section Homing 3d Printer Firmware Printer

Repetier Printer Delta Radii

Bondtech Firmware Variation Updates For Prusa 3d Printers Firmware 3d Printer Printer

Ender 3 Pro Upgrades Bltouch Sensor With Marlin 2 0 Youtube 3d Printing Diy Sensor Pro

Pid Tune Your 3d Printer With Marlin Firmware 3daddict 3d Printer Printer 3d Printer Extruder
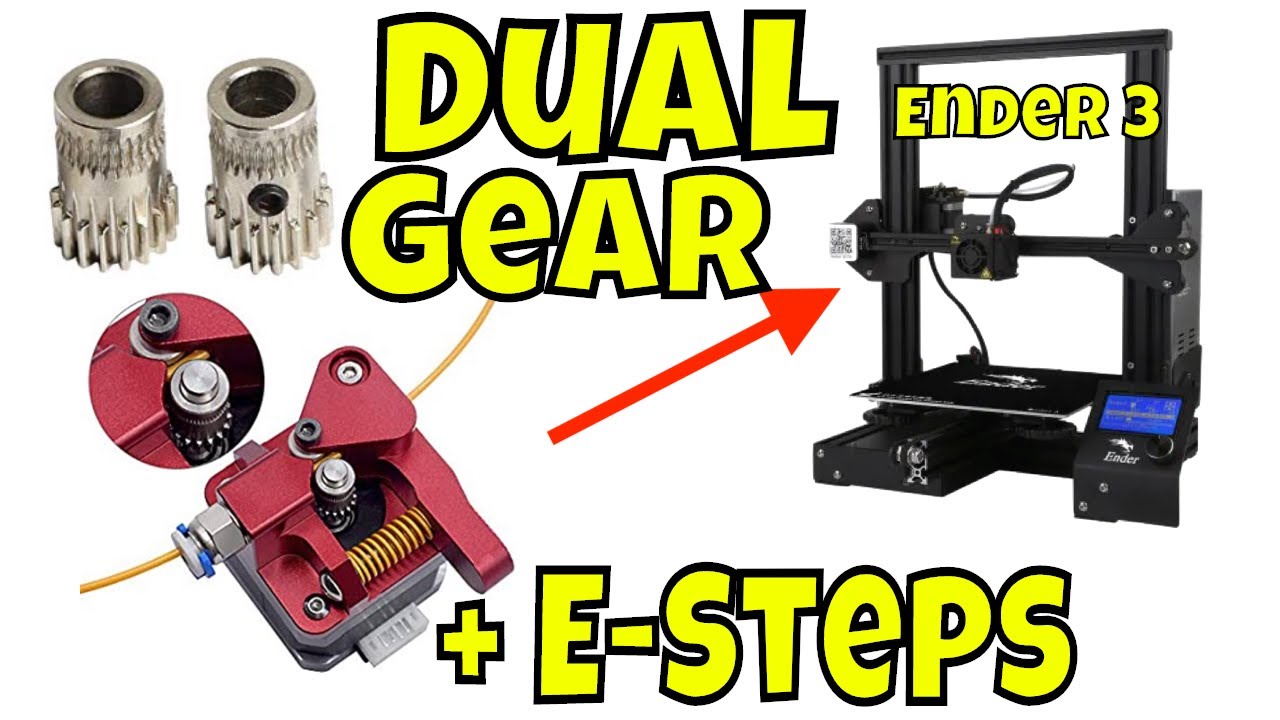
Dual Drive Gear Extruder Upgrade E Steps On Creality Ender 3 Youtube Dual Arduino Books Ebay Usa

Ender 3 Machine Settings For Cura 3d Printing Machine 3d Printer Machine 3d Printing Diy

Decided To Add The Build Plate To Cura Link Included Ender3 Ads 3d Printing Plates

Ender 3 Pro Firmware Update How To Install Marlin All3dp Firmware Installation Marlin

Ajuste De Los Pololus Placa De Arduino Impresora Ajustes
V6 Marlin Configuration E3d Online How To Better Yourself Configuration Marlin

Creality Ender 3 Cleaning Out The Clogged Nozzle

This Video Is About The Marlin Settings I Used For My Conveyor Belt 3d Printer Printer 3d Printer Firmware

How To Make Cura Accurately Estimate The Print Time Lokster Space Print Estimate Interface

Ramps1 4 Geeetech Wiki 3d Printer Kit Serial Port Sketching Tools

Pid Tune Your 3d Printer With Marlin Firmware 3daddict 3d Printer Extruder 3d Printer Printer

Mattercontrol Travel Speed Settings 3d Printing Diy Printer 3d Printing

Pin On 3d Printer Kits

3d Printer Calibration Part 1 3d Printer Printer Extrusion
Post a Comment for "Marlin Firmware Extruder Settings"